Tool Try-Out
Faster Tool Try-Out through Forming Optimization
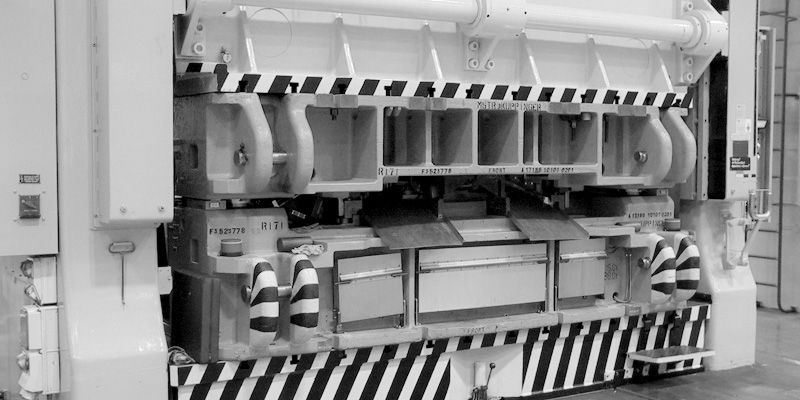
During try-out of sheet metal forming tools, the complex interaction between material, tool and press machine needs to be mastered as quickly as possible. GOM's optical metrology systems enable fast inspection of the shape and dimensions of sheet metal parts. In addition, the GOM ARGUS system for forming analysis detects material defects that occur during the forming process even before they are visible to the human eye. Objective root cause analysis significantly reduces iterations until tool buy-off. What's more, comprehensive quality control based on GOM optical metrology leads to shorter production start-up times and guarantees component integrity.
Shape & Dimension Control
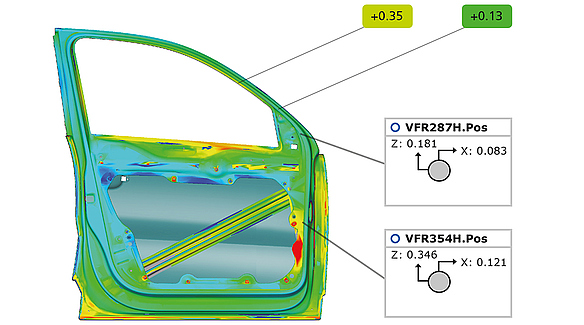
During tool try-out, the ATOS 3D digitizer delivers fast results on the actual geometry of a stamped part. This makes it possible to verify on the shop floor that the part will fit properly during assembly and that it complies with optical requirements. The ATOS system not only measures deviations between the stamped part and CAD parameters over the entire surface but also checks hole pattern, trim and spring-back for required tolerances using special algorithms with subpixel accuracy for precise inspection of cut edges.
Detection of Material Defects
A material's forming limits might be exceeded during the stamping process without this being immediately visible to the human eye.
GOM's ARGUS strain measurement system checks for areas of the material that have been critically weakened, e.g. due to extreme material thickness reduction. The strain values and the thickness reduction are displayed as graphics and validated in relation to the Forming Limit Curve (FLC) of the selected material, a process that produces the Forming Limit Diagram (FLD). The FLD reveals those areas where stamping parameters (lubrication, down-holder force, blank positioning, etc.) need to be adjusted, or areas of the die that need reworking. The ARGUS system helps to detect material defects that arise during the forming process. At the same time, the system supports optimization of tool try-out.
To assess the shaping process in a multistage tool, parameters from the different shaping stages can be recorded and evaluated in a single project. The deformation ratios can be measured, visualized and evaluated in each individual stage as well as across the entire deformation process.
© 2022. APM Technologies 3D Pvt Ltd
Copyright © 2022. All rights reserved


