Customer login
Not registered yet?
Register now! It is easy and done in 1 minute and gives you access to special discounts and much more!
ATOS 5X | for Automotive Car Body Inspection
- Home
- Product
- ATOS 5X
ATOS 5X
Automated Large Volume 3D Scanning
Technology
High-Speed Technology
Benefit
The right combination of hardware and software
Evaluations
Fast Inspection with GOM Data Quality
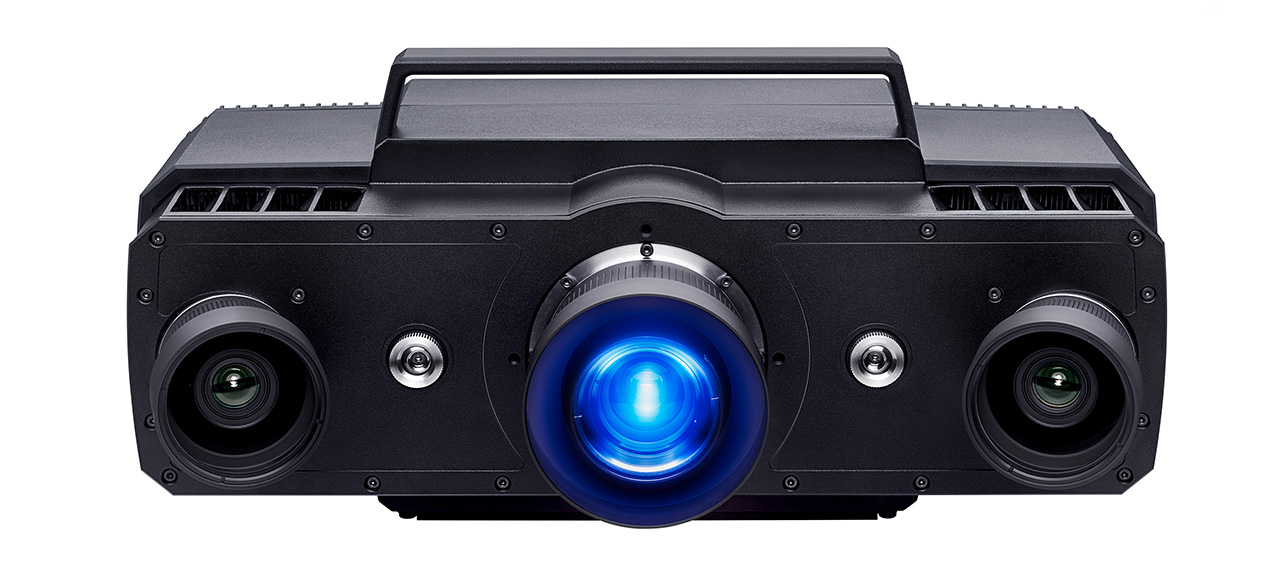
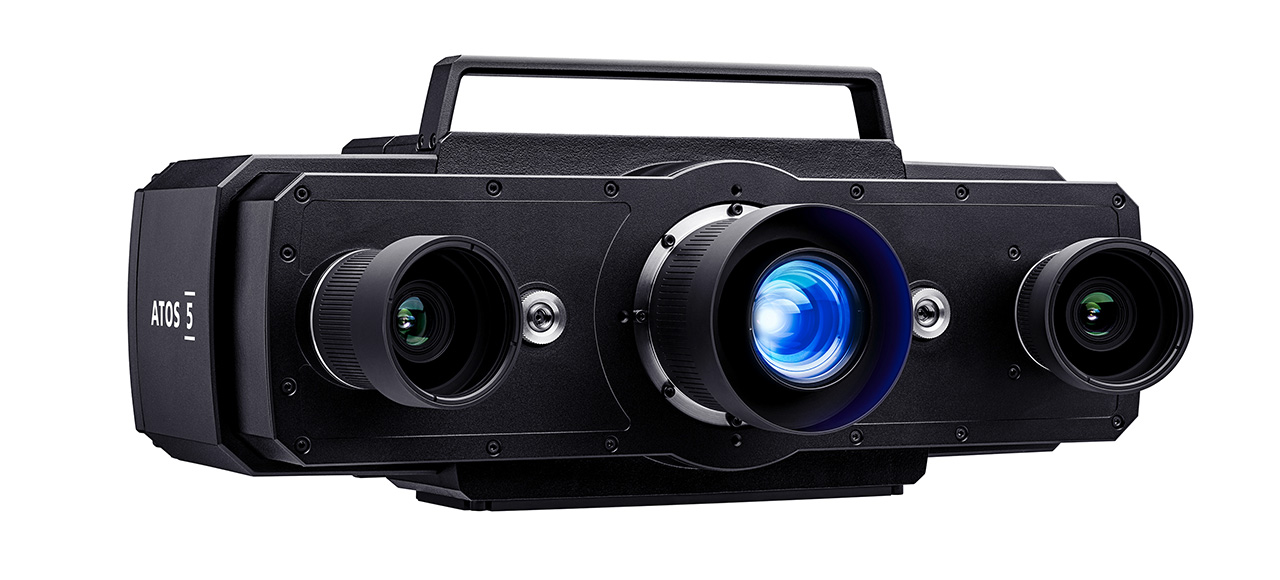
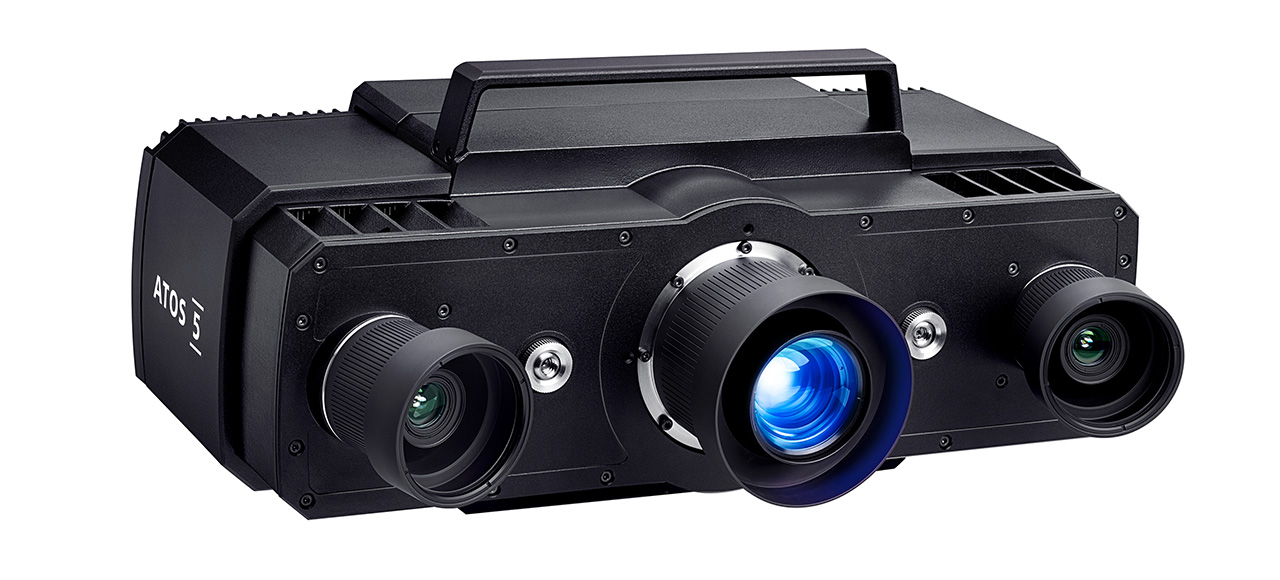
Automated Large Volume 3D Scanning
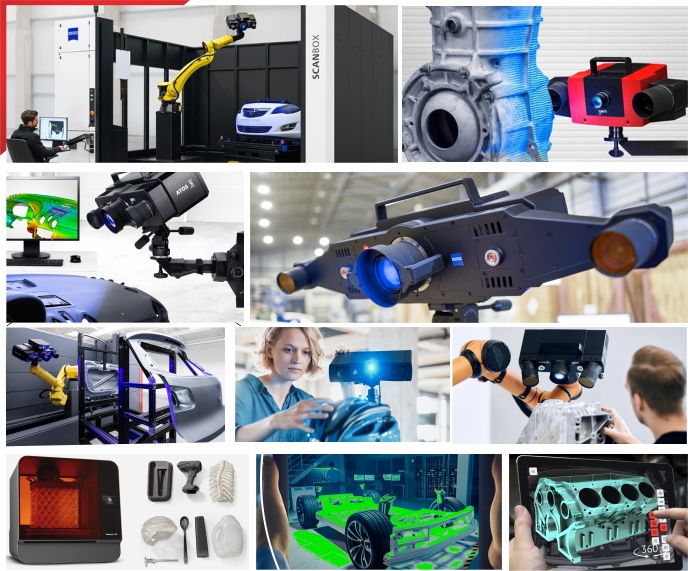
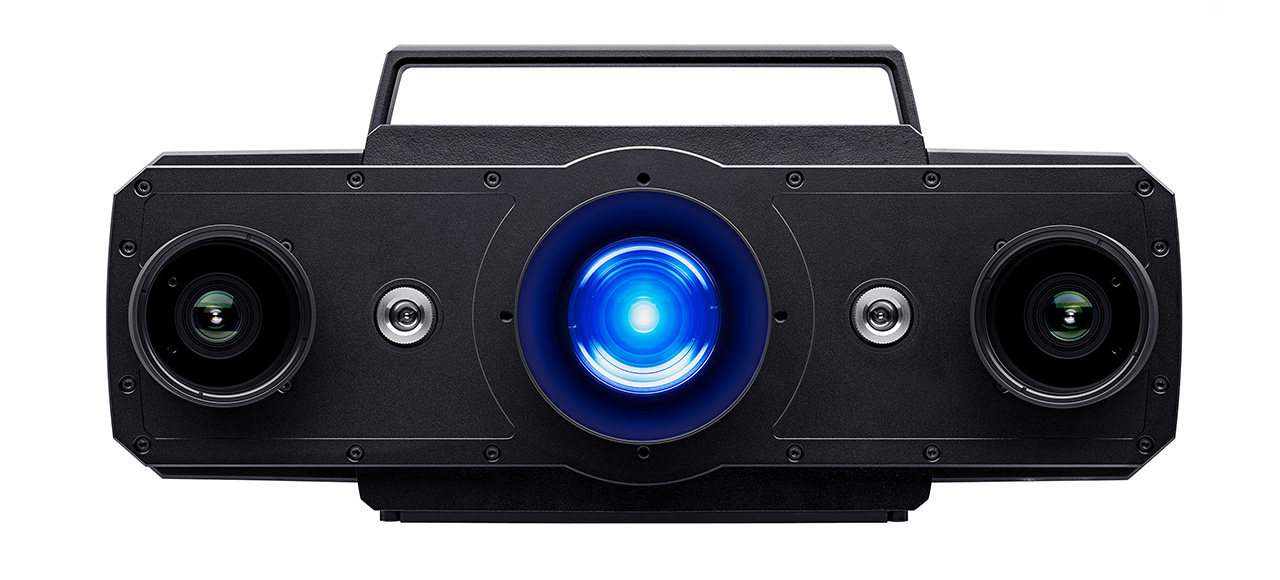
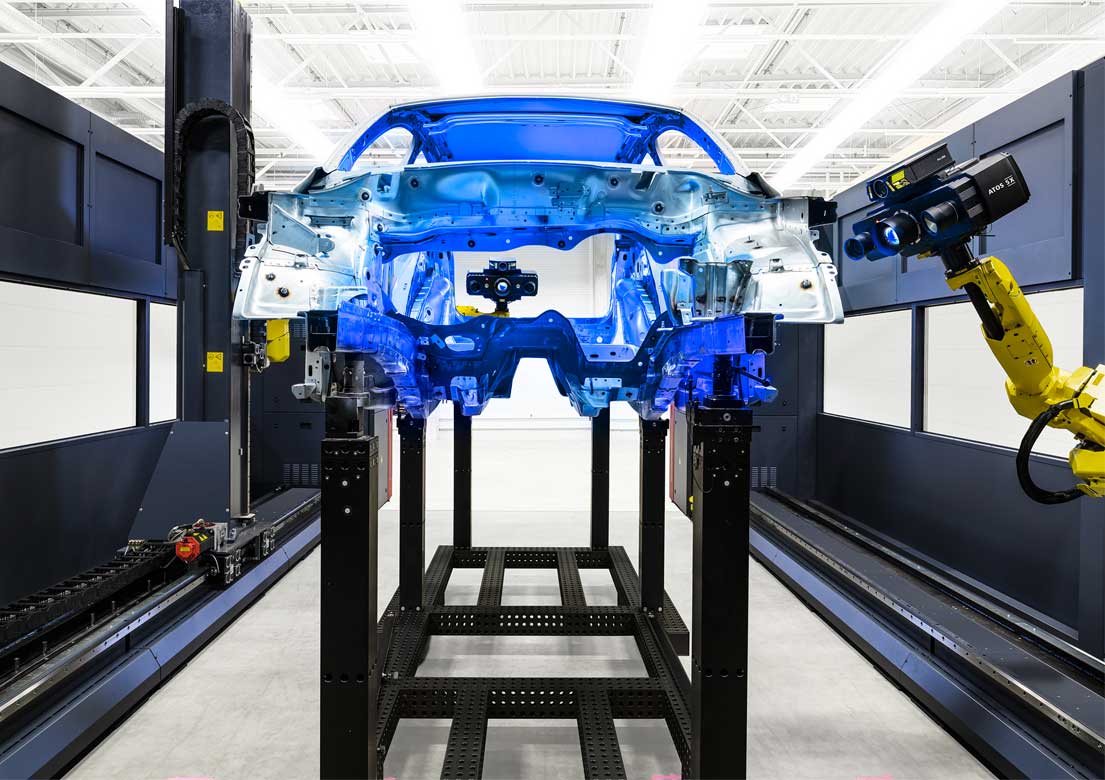
With its powerful light source, ATOS 5X enables the use of large measuring volumes for maximum speed in automated applications. In combination with the ATOS ScanBox series, ATOS 5X is a high-end scanning system for tool, press and body shops.
High-Speed Technology
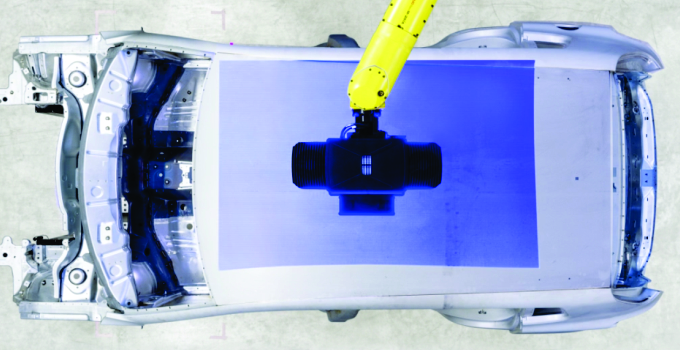
ATOS 5X uses the integrated Laser Light Compressor to generate ultra-bright light. This allows for measuring areas of up to 1000 mm and at the same time extremely short exposure times. Acquisition times of 0.2 seconds are reached.
Benefits
Extremely bright laser light source
Resistant to ambient light conditions
Robust sensor design
High accuracy in rough environments
Short exposure times
Even for dark and shiny surfaces
Interference-free data transfer
Intelligent sensor communication using fiber optics
High detail resolution
Low noise level and precise coverage of complex geometries
Process safety
In industrial applications
Fast Inspection with GOM Data Quality
Speed up your process
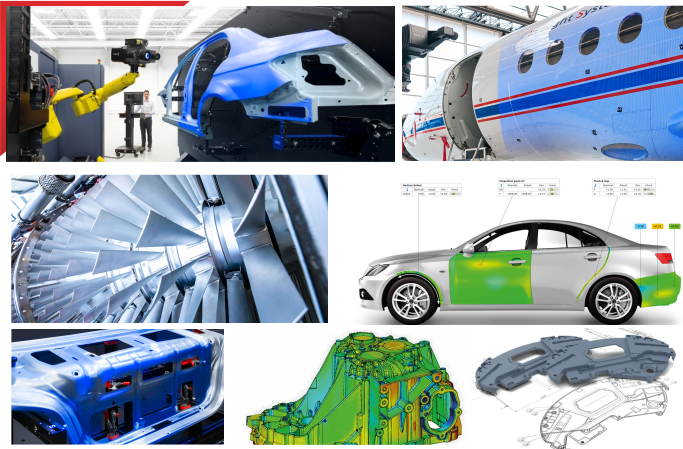
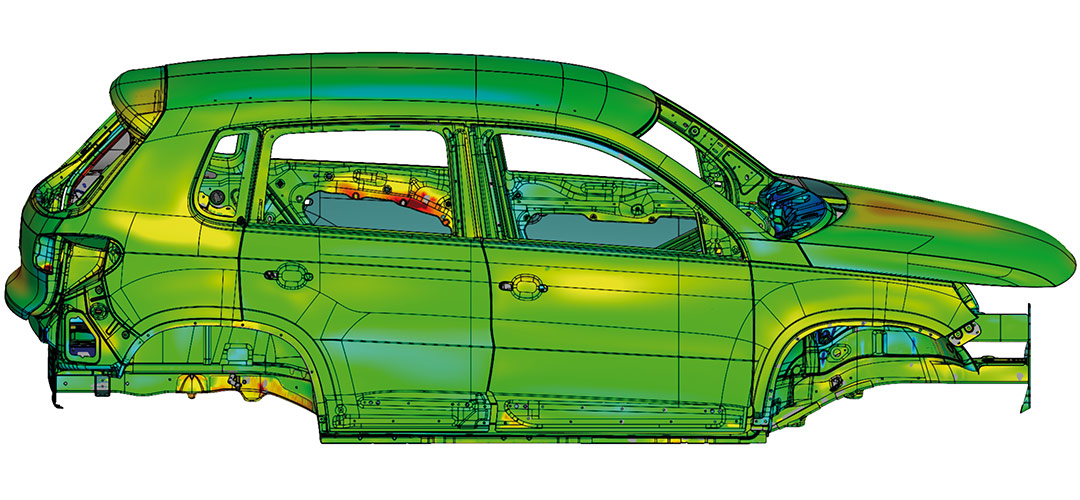
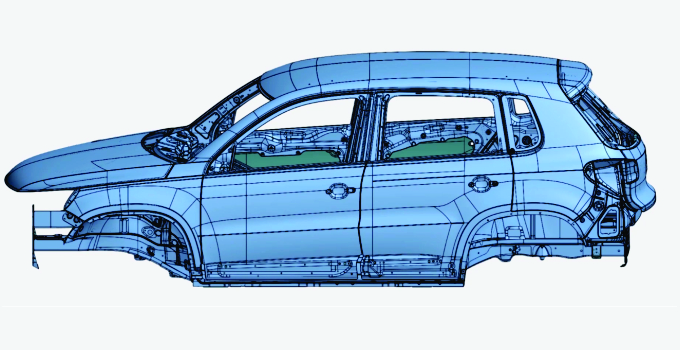
The automated measurement of a complete car body both outside and inside typically takes 30 minutes with ATOS 5X – including the precise coverage of complex geometries. The system enables the highest possible throughput, with the main application areas in Meisterbock and Cubing, inspection of complete vehicles and quality control in body manufacturing.
Highest data quality
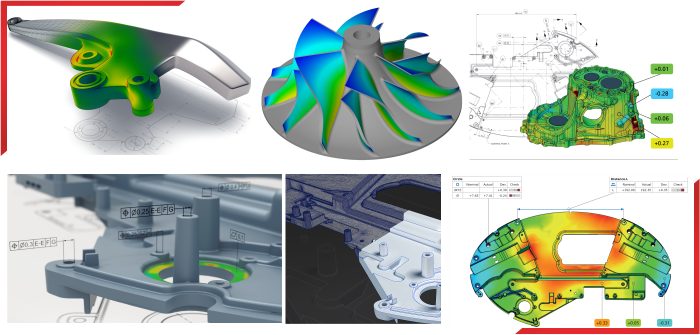
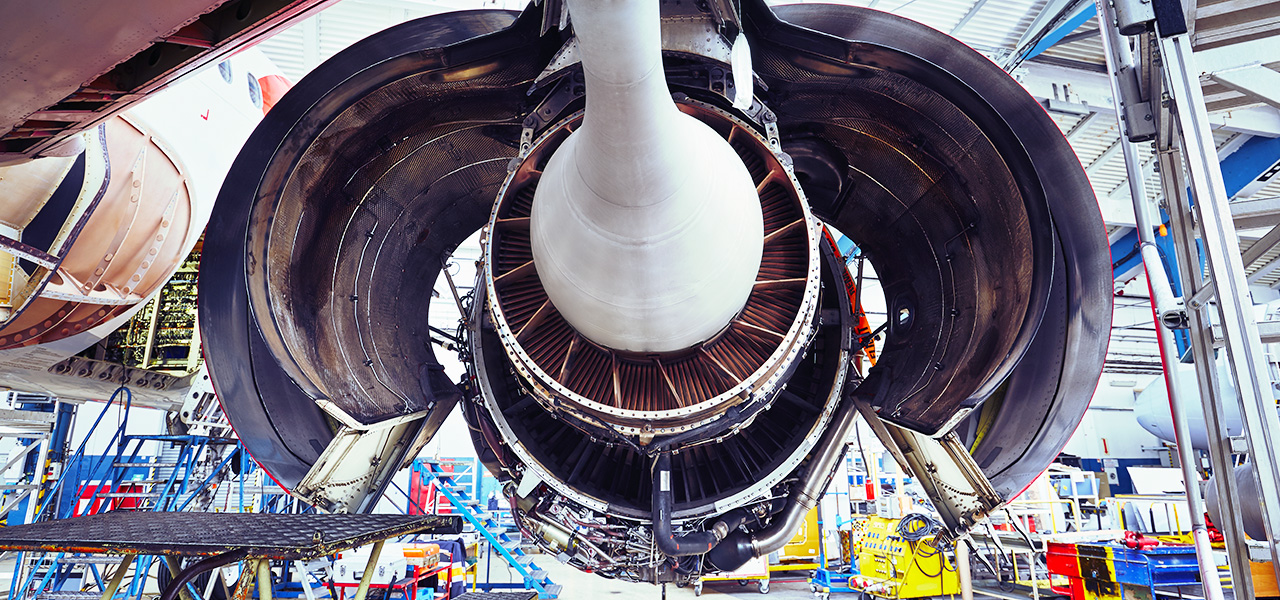
ATOS 5X delivers full-field data for comprehensive process and quality control of hang-on parts, side panels and complete car bodies. The data quality generated by the sensor is particularly evident in the detail sharpness of the 3D models, allowing an advanced inspection of character lines, radii, trimmed edges and hole patterns.
Digital Assembly
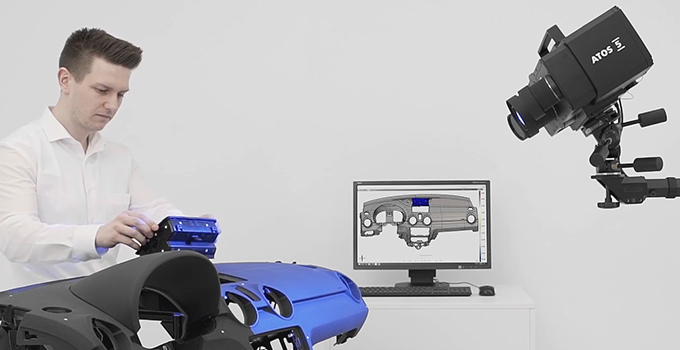
Prior to the actual physical assembly, the measured parts can be virtually aligned. Information on gap and flush or functional dimensions can be evaluated at an early stage. Measuring results deriving from different departments or even from suppliers can be evaluated centrally. This way, a car body can be analyzed irrespectively of Meisterbock or cubing.
© 2022. APM Technologies 3D Pvt Ltd
Copyright © 2022. All rights reserved


