Press and Body Shop
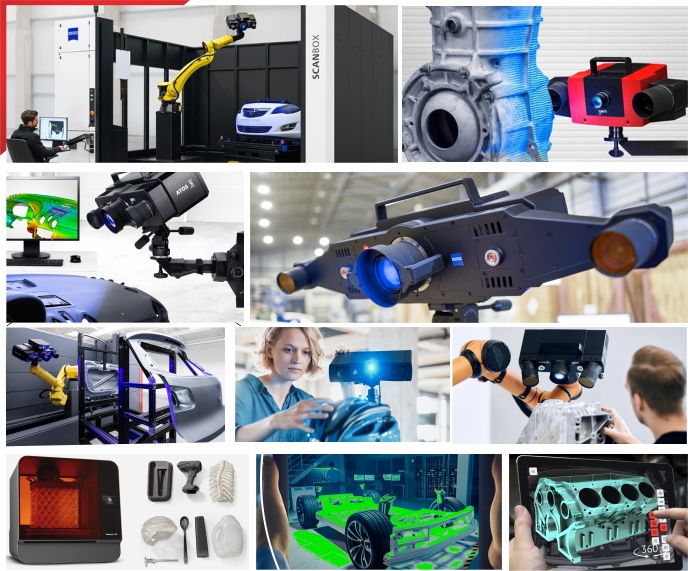
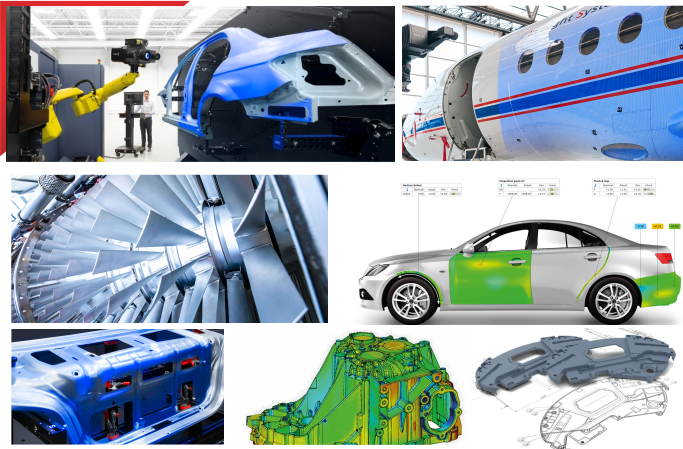
Quality management and assurance are steadily gaining importance in industrial development and manufacturing. Decentralized component production by suppliers means that tight specifications have to be met in order to guarantee problem-free final assembly and produce a high-quality product. The ATOS optical digitizing system from GOM is tried and proven in the inspection of metal sheets as well as body-in-white analysis.
th the sensor and software all developed in-house, GOM has created a comprehensive solution and secure workflow for the sheet metal inspection process, enabling surface and sharp-edged features to be verified with one system
Complete Sheet Metal Part Inspection
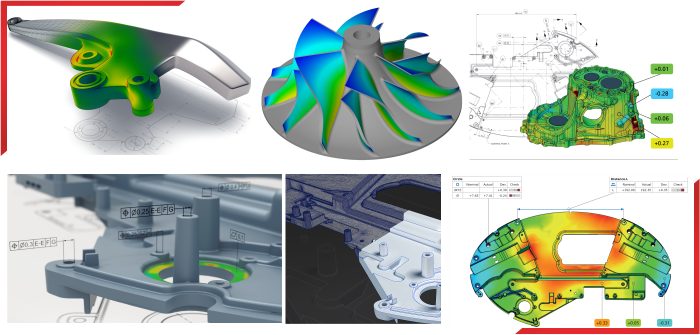
The ATOS optical 3D digitizer captures the surface geometry of an entire component on the basis of a high-resolution point cloud. Additionally, sharp-edged features can be measured with subpixel precision using algorithms developed specially for this purpose. This comprehensive concept makes it possible to verify the complete surface as well as hole patterns, trim and spring-back, tornado lines, gap & flush, and other typical sheet metal features. Thanks to the concept of "teaching by doing" and inspection planning based on CAD data in the GOM Inspect Professional Software, multiple part inspection can be automated as of the second part.
S brings together high-quality measured data and flexibility, so that it can be used not only in measuring rooms but also in pressing plants and raw production environments. Regardless of object size, ATOS creates precise 3D coordinates and delivers complete measuring and inspection reports.
Automated Quality Control
Idustrial production processes require automated measuring cells to enable higher throughput (more parts in less time, better planning) and higher repeatability (process safety). As a single-source provider of industrial measuring sensors and parametric inspection software, GOM's automation team opens the way to standardized and centralized part inspection management with parametric and traceable inspection workflows.
Gages, Jigs and Fixtures
Stable parts can be measured without jigs or fixtures using the contact-free ATOS Digitizer, because the alignment of measured data to CAD data is controlled using RPS points in the GOM inspection software. If a sheet metal component is digitized when free standing and once installed, deformations can be measured and visualized. Variable alignment is possible due to the dense data volume, and contributes to fast problem resolution during sheet metal assembly analysis. For the measurement of clamped sheet metal components, the contact-free measuring techniques enable an adaptive fixture concept, thus saving costly gauges. For example, a simple holding jig can replace six measuring gages. Since it can be used in parallel for various parts, storage space and production time are saved.
© 2022. APM Technologies 3D Pvt Ltd
Copyright © 2022. All rights reserved


