Effective post-processing
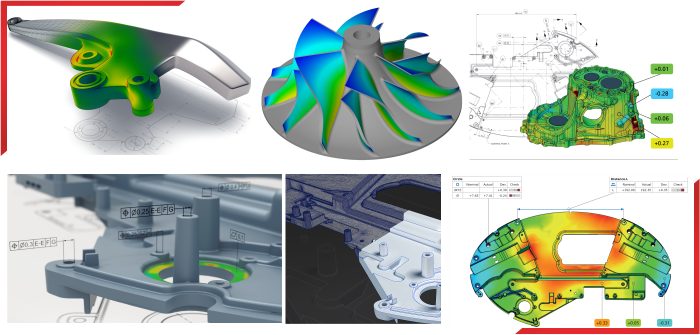
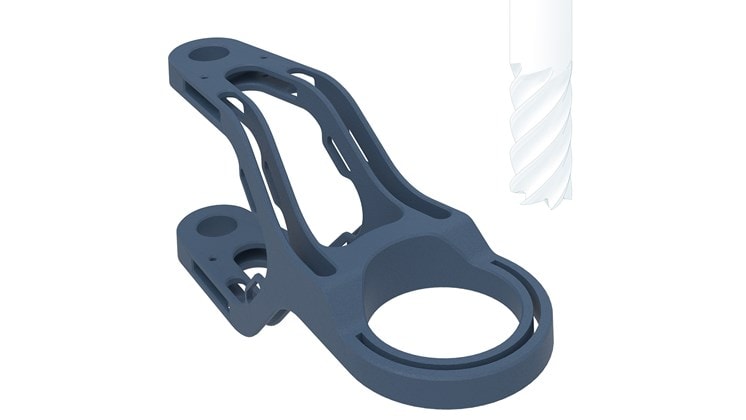
3D printed parts often have to be reworked to improve their function and the way they connect to other components. The GOM inspection software can analyze surface defects, the origin and alignment of the component and possible measurement deviations caused by any changes made.
Efficient process control
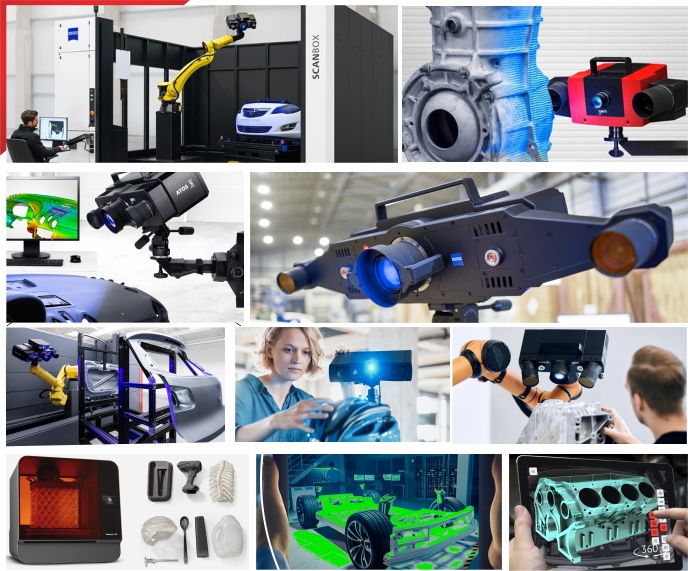
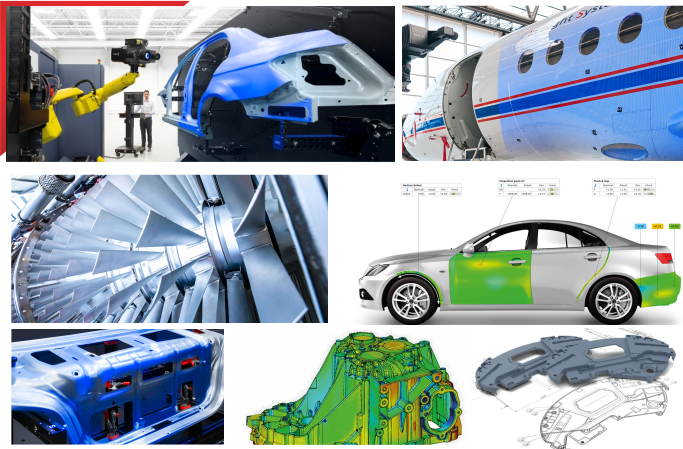
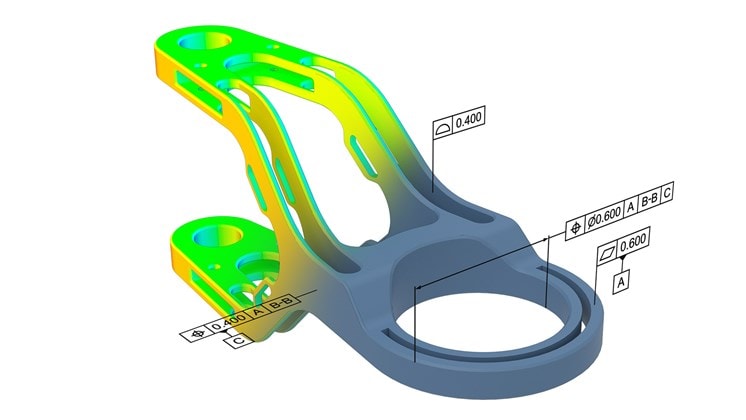
With the ATOS 3D coordinate measuring system, you can analyze uncertainties and problem areas in additive manufacturing throughout the process. ATOS sensors carry out geometry analyses between individual process steps to identify quickly when and where dimensional deviations occur.
Fast component certification
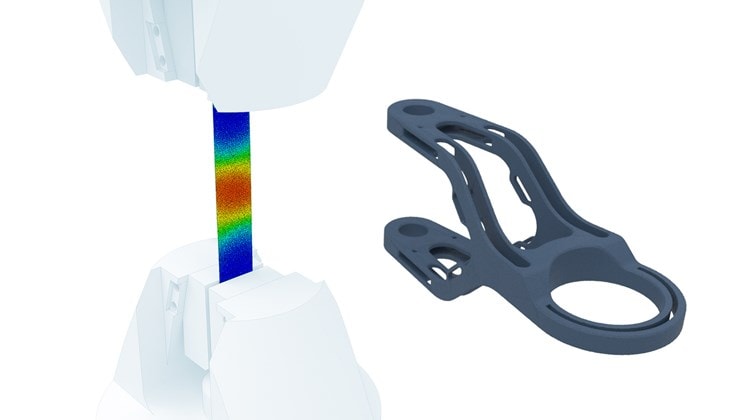
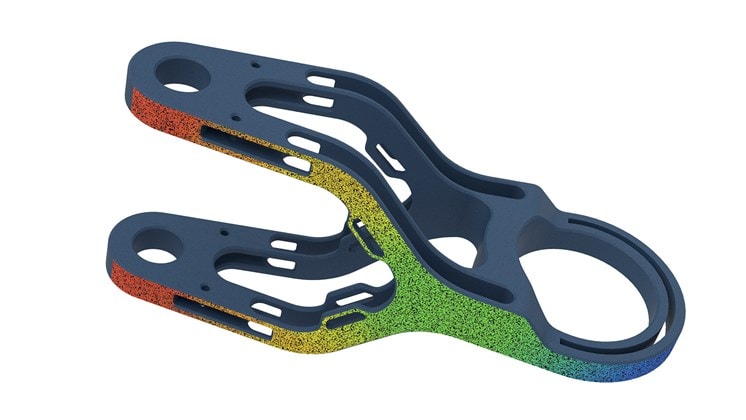
3D printed parts often require certification. With ARAMIS you can generate dynamic, full-field load evidence. GOM inspection software also compares your findings with existing simulation results, which mean you can quickly spot any deficits in the material model.
Reliable final inspections
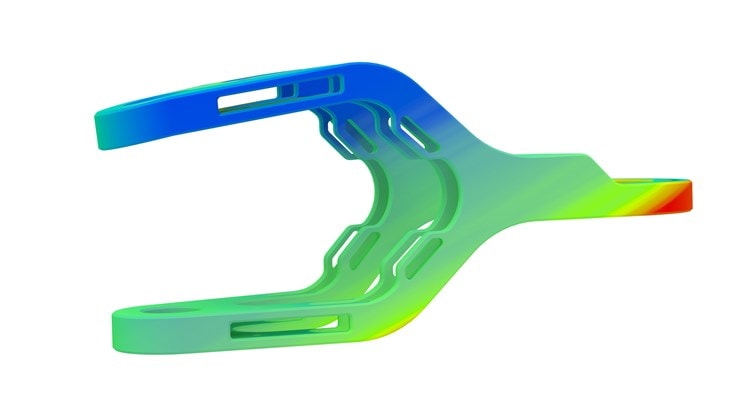
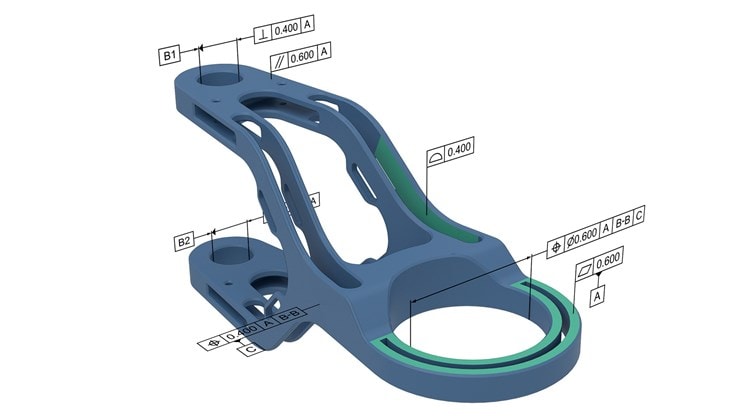
Use the high-precision, detailed 3D scans produced by the ATOS sensors to compare the 3D printed component with the target data from the CAD model. You can then correct defective areas on the printed component in the final process step. The ZEISS METROTOM 6 scout (GOM CT) also analyzes the internal geometry.
© 2022. APM Technologies 3D Pvt Ltd
Copyright © 2022. All rights reserved


